
A cracked tile beside a loading bay, water staining above a ceiling grid, and an undocumented service riser can become expensive problems when a project begins. The issue is rarely that a team did not see the condition. It is that they cannot prove what was present, where it was located, or how it related to the wider building.
Knowing how to document building conditions creates a defensible baseline before renovation, handover, leasing, restoration work, or an insurance claim. Done well, it gives owners, consultants, contractors, and insurers a shared record of the space – one that supports faster decisions rather than competing recollections.
Start with the decision the record must support
Building condition documentation is not one fixed deliverable. A property manager assessing maintenance needs requires a different level of detail from an architect preparing a renovation, or an insurer reviewing damage after an incident.
Before capturing anything, define the purpose, users, and required accuracy. Ask whether the record will be used to establish pre-work condition, plan design changes, verify construction progress, support a claim, manage assets, or market a property with an accurate virtual representation. This decision affects the capture method, survey coverage, naming convention, and final output.
For example, a hotel preparing a room refresh may need a room-by-room visual record and measured plans. A warehouse considering equipment reconfiguration may need LiDAR point cloud data, spatial measurements, and an as-built model. A retail landlord documenting tenant handover may prioritize date-stamped evidence of finishes, fixtures, defects, and meter readings.
The goal is not to capture the most data possible. It is to capture the right evidence at a level that can be used confidently later.
How to document building conditions systematically
A reliable record follows a consistent route through the site. Start by dividing the property into logical zones: exterior areas, each floor, common spaces, plant rooms, circulation routes, tenant areas, and roof or service zones where access is permitted. Assign each zone a clear identifier that matches the existing floor plan or asset register.
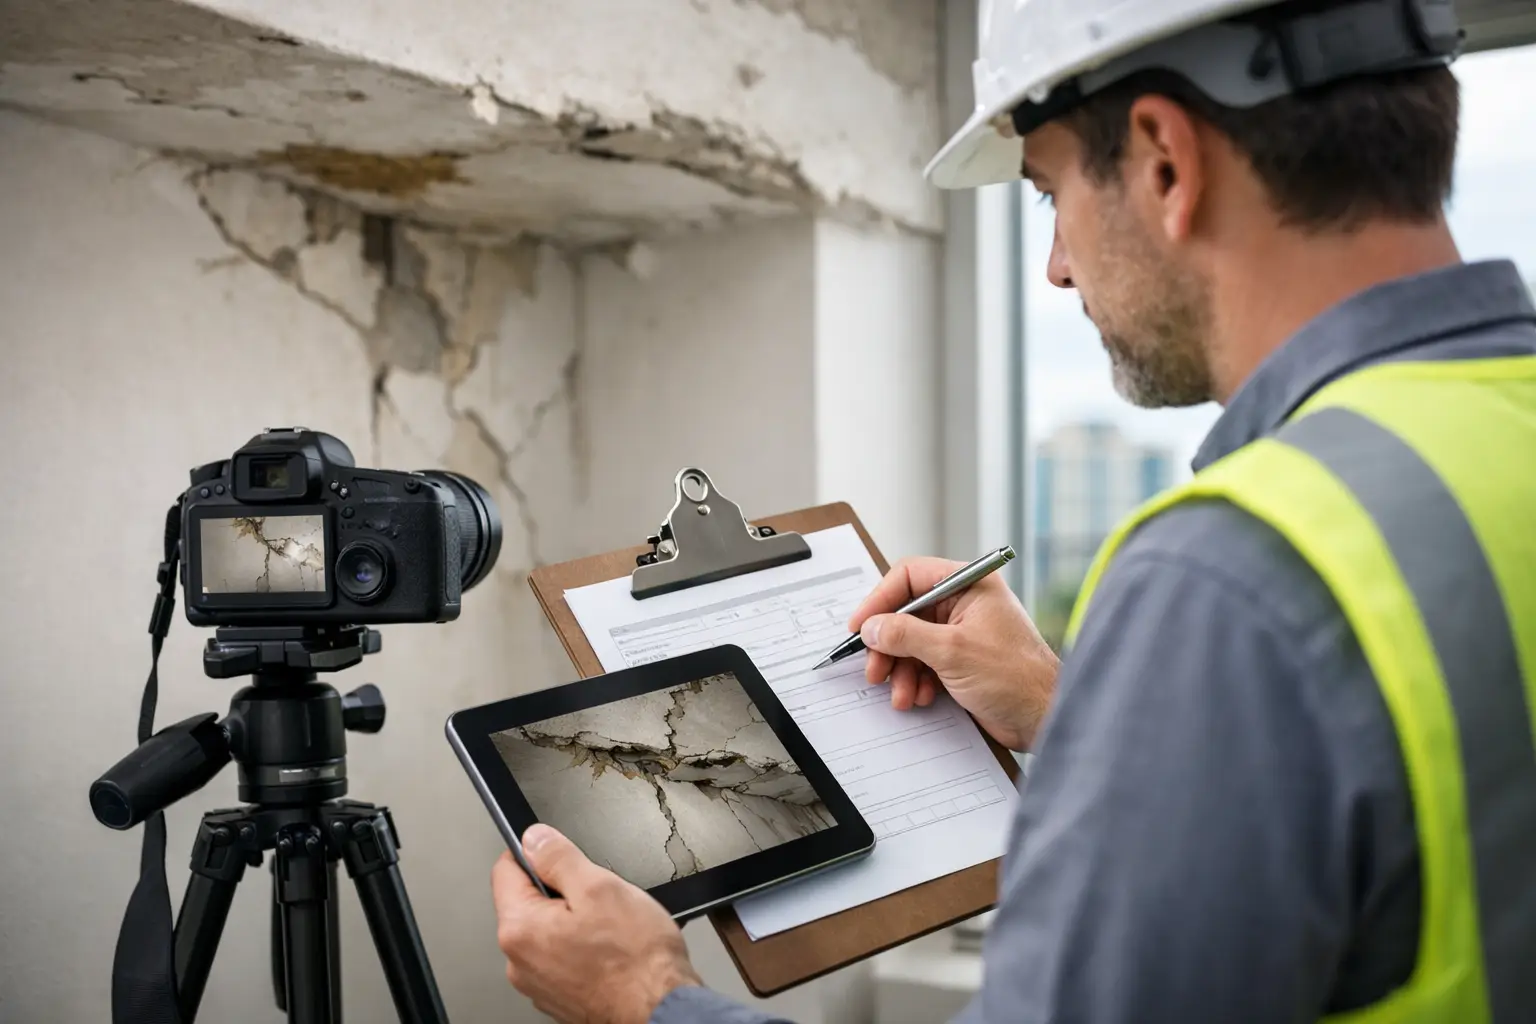
Capture the general context before moving to individual issues. Wide images establish the room, elevation, corridor, or facade. Medium-range images show the affected area. Close-up images record the specific defect, label, serial number, or material condition. Without context shots, a close-up of damaged plaster or corrosion may be difficult to locate weeks later.
Each observation should answer four practical questions: what is the condition, where is it, when was it recorded, and how significant is it? A useful note might read: “Level 3, north stairwell, landing between Levels 3 and 4: localized moisture staining at ceiling adjacent to external wall, approximately 1.2 meters wide. Recorded May 14, 2026. No active drip observed during inspection.”
Avoid vague notes such as “ceiling issue” or “wall damage.” They slow down follow-up work and leave too much open to interpretation.
Build a capture plan before arriving on site
A short pre-site plan prevents gaps that are hard to correct later. Confirm access arrangements, operating hours, safety requirements, restricted rooms, and whether the building will be occupied during capture. In active facilities, coordinate the route with operations staff so critical areas such as electrical rooms, loading zones, kitchens, or production lines can be documented safely and without disrupting work.
Your plan should also establish the following:
- The building zones, floors, and spaces included in the scope
- The baseline drawings, previous reports, or asset registers available for reference
- The capture methods to be used, including photography, 360 imaging, LiDAR, drone capture, or video
- The issue categories and severity scale used in the report
- The file naming, storage, and handover requirements for all data
This preparation matters most on large or complex sites. A missed roof access point, concealed plant room, or back-of-house corridor can leave a serious blind spot in the final documentation.
Use the right combination of visual and spatial data
Standard photography remains essential because it is quick, accessible, and effective for recording surface conditions. It works well for finishes, visible defects, installed equipment, signage, and general site context. But photographs alone have limits. They can distort scale, omit adjacent features, and make it difficult to understand spatial relationships in complex buildings.
A 360 virtual tour or digital twin gives stakeholders the ability to revisit the site remotely. Instead of searching through hundreds of disconnected images, a facilities team can navigate from the lobby to a mechanical room, view the condition in context, and share the same reference point with contractors or decision-makers. For commercial leasing and hospitality assets, this can also provide a useful visual baseline between occupancies or renovation phases.
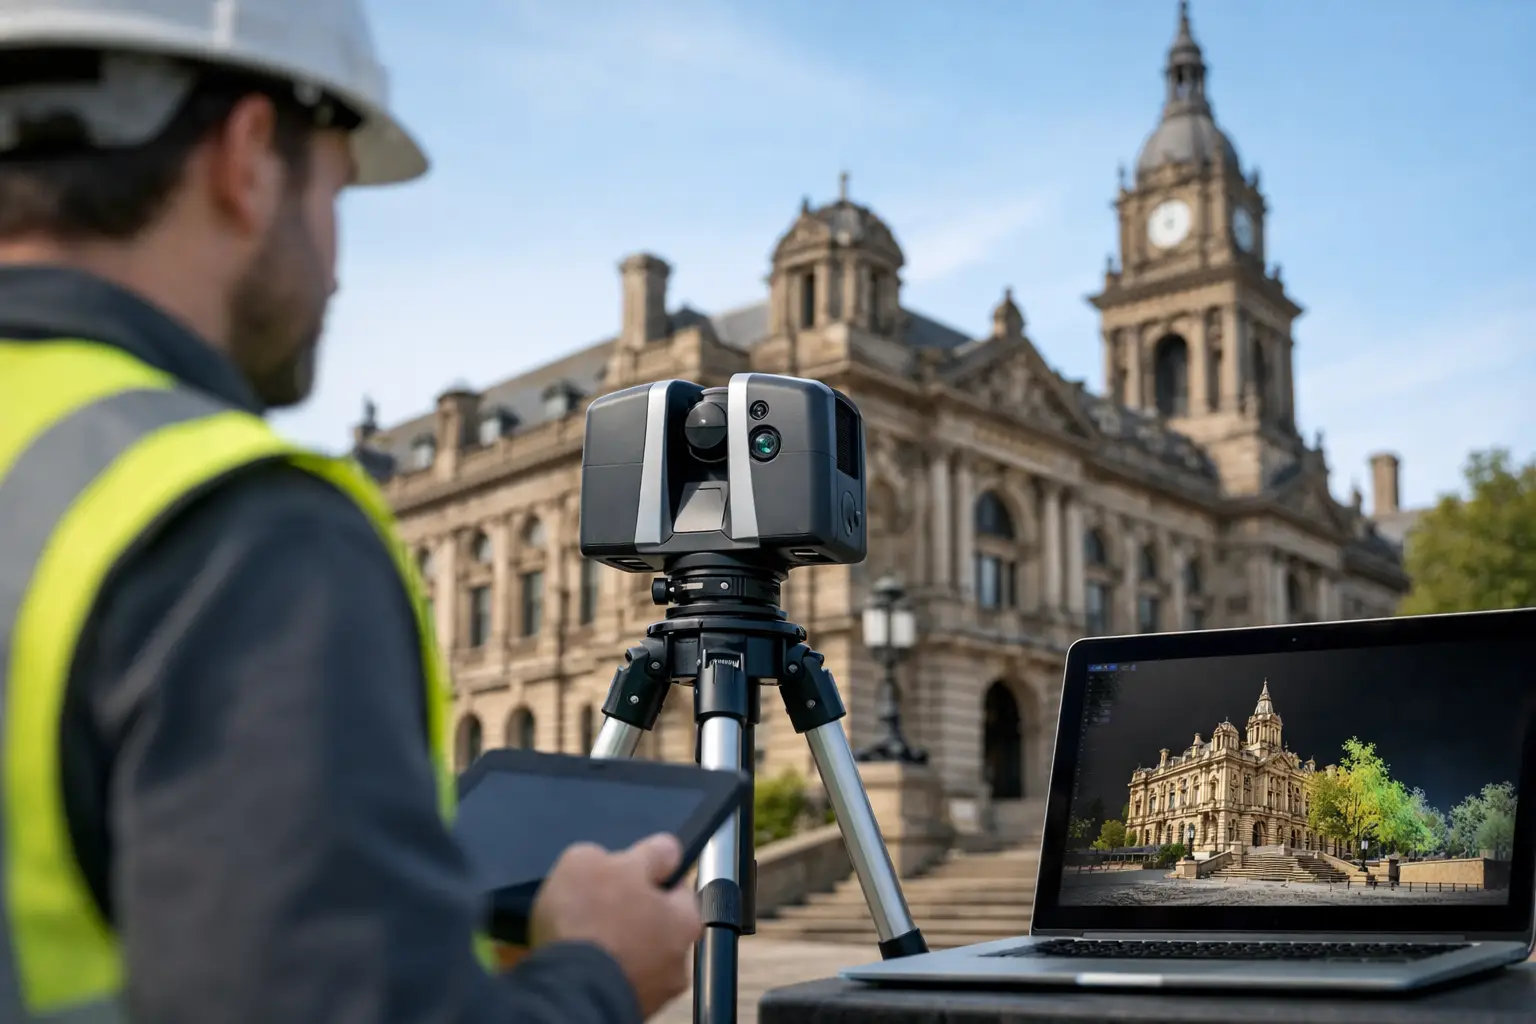
LiDAR scanning adds another layer of certainty. It captures dense three-dimensional point data that can be measured and used to create accurate floor plans, sections, elevations, and Scan-to-BIM outputs. This is particularly valuable when existing drawings are outdated, when spaces contain irregular geometry, or when design teams need dependable as-built information before making changes.
The trade-off is straightforward: more precise capture requires more planning, specialist equipment, and data processing. Not every inspection needs a full point cloud or BIM model. However, when inaccurate dimensions could lead to rework, fabrication errors, access conflicts, or delayed approvals, the cost of precision is often lower than the cost of assumptions.
Record defects in a way that supports action
Condition documentation should help teams prioritize, not simply create an archive. Establish a simple, agreed severity framework that distinguishes cosmetic observations from conditions requiring urgent attention. The categories will vary by project, but the report should make clear whether an item affects safety, operations, water integrity, compliance, asset life, or appearance.
Where possible, associate each issue with a location marker on a plan, a digital twin tag, or a unique room reference. Include supporting photographs and concise notes. If a defect requires specialist diagnosis, state that clearly. A visual survey can record cracking, staining, deformation, or corrosion, but it should not make unqualified claims about structural cause, hazardous materials, or code compliance.
This distinction protects the usefulness of the report. Strong documentation separates observable facts from recommendations and identifies where further investigation is needed.
Create a single source of truth for stakeholders
The final handover should be organized for the people who will use it. A contractor may need marked-up plans and issue logs. An owner may need an executive view of priority conditions and budget implications. A facilities team may benefit most from a navigable digital twin with tagged assets and linked maintenance records.
At minimum, package the documentation with a scope statement, inspection date, coverage limitations, zone or room index, image register, issue log, and clearly named files. If measurements or models are included, state the capture method, coordinate basis where relevant, and expected accuracy. This gives future users the context needed to rely on the information appropriately.
Store original files as well as exported reports. Image quality can be reduced in PDFs, and a static report cannot offer the same value as retained panoramic imagery, raw scan data, or a maintained BIM model. For recurring inspections, preserve the same zone structure and naming rules so teams can compare conditions over time.
Common gaps that weaken condition records
The most frequent failure is documenting only obvious defects. A condition baseline also needs the surrounding finishes, access routes, adjacent services, and unaffected areas that establish context. Another common problem is inconsistent labeling, where images are captured well but cannot be matched to a floor, room, or elevation.
Teams also underestimate temporary conditions. Furniture, stored materials, vehicles, scaffolding, or tenant displays can block important views. Record these obstructions and, where necessary, schedule a return visit. It is better to identify incomplete coverage honestly than to present a report that implies full inspection.
Finally, do not treat documentation as a one-time exercise when the property is changing rapidly. Construction, restoration, fit-out, and phased handovers benefit from repeat capture at defined milestones. Comparable visual and spatial records make progress easier to verify and disputes easier to resolve.
For projects across Malaysia and Southeast Asia, Novo Reperio combines 360 capture, LiDAR mapping, digital twins, and Scan-to-BIM workflows to turn physical conditions into usable digital records. The right approach depends on the building, the risks involved, and the decisions ahead.
A building condition record earns its value when someone can return to it months later, find the exact space in minutes, understand what was observed, and make the next decision with less uncertainty.